Novelty Cake Construction |
|
| Some time ago, a friend of mine asked me to document what I did when I made a cake. I therefore took some pictures as I was making the Hornet Cake. | |
|
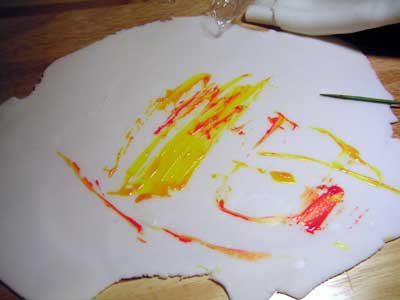
1.Here, I'm tinting the plain fondant with a gel food color. To protect the food coloring from contamination, I dip a clean toothpick in the color and then into the frosting. I used a combination of Lemon Yellow and Golden Yellow to color. You always want to tint the whole amount of frosting at once, since it's such a pain to color match. |
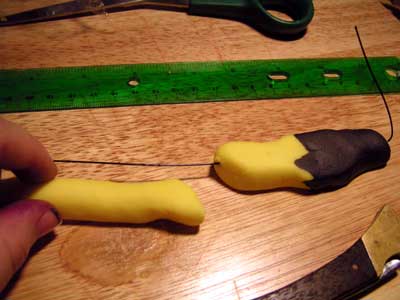
| 2. In this picture, I'm modeling the legs. Each leg was shaped, then threaded onto wire so that it was semi-articulated, and less fragile than a solid leg. Each leg consisted of seven segments, and took about 45 min - 1 hour to sculpt. | |
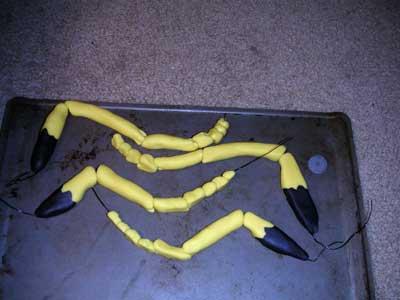
| 3. Here are some of the legs drying on a baking sheet.
I wanted one side of the femur to be flat so that it would lay against
the cake better. The extra wire sticking out of the legs will help
anchor them into the cake, and to the cake board. |
|
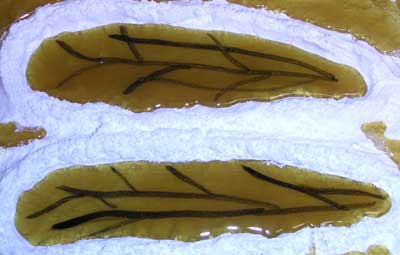
| 4. These were my first attempts at casting the wings. I formed the shape in powdered sugar, then poured in the hot liquid candy and painted on veins. Unfortunately, this gave a very irregular wing shape, and my wing veins looked very stupid. I chucked these out and tried again. This time, I made wing outlines in modeling clay on a baking sheet, then pressed crumpled aluminum foil down to give a reticulated appearance to the wing surface. | |
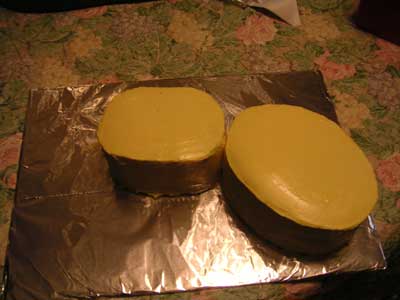
| 5. Skipping the baking, topping, filling and frosting parts, let's move on to finalizing everything. I've positioned small, pre-frosted cakes on a large, foil-covered board. I didn't have Alton Brown's giant cake spatula, so I used a small cutting board. Seemed to work OK. Moving them around did screw up the lower edge, but I already knew that I was going to do a shell border to cover it up. | |
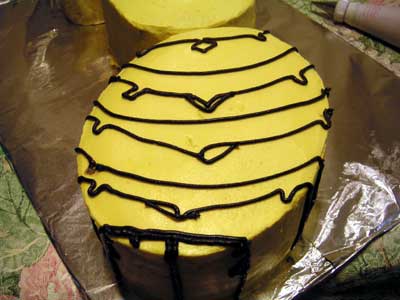
| 6. I didn't want to just start applying the black frosting, so I outlined the color blocks first. I was working from photographs, but all the outlining was done freehand. You can see where I had to correct some of the shapes. (I was getting down to the deadline.) | |
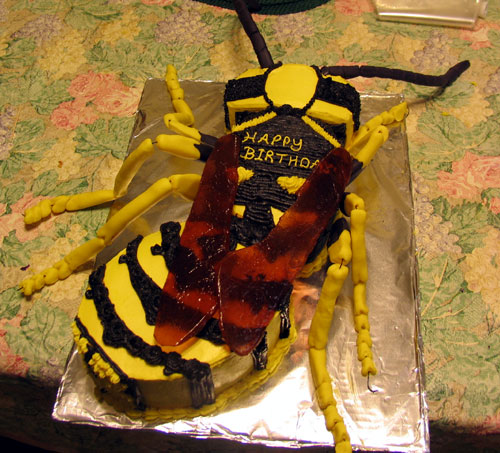
7. And here's the finished cake! I've filled in the color blocks with a variety of tips, to give the cake some texture, and installed the antennae, legs, and wings.
Total working time: 14 hours. |
|